As you could learn from previous posts, nodes are among the most useful TikZ tools. Mastering them lets create advanced graphics with relatively little effort. The inner separation argument is one of the key features for understanding how nodes work and how to use them efficiently. This is the purpose of this tutorial!
The node’s structure
The basic command for creating a node is:
\node (name) at (position) {content};You may skip the name and leave the content empty if you wish. For example:
\node at (0,0) {};creates an empty, nameless node at the center of the coordinate system. Although the result, in this case, looks like this (the grid is added for clarity of the exposition):
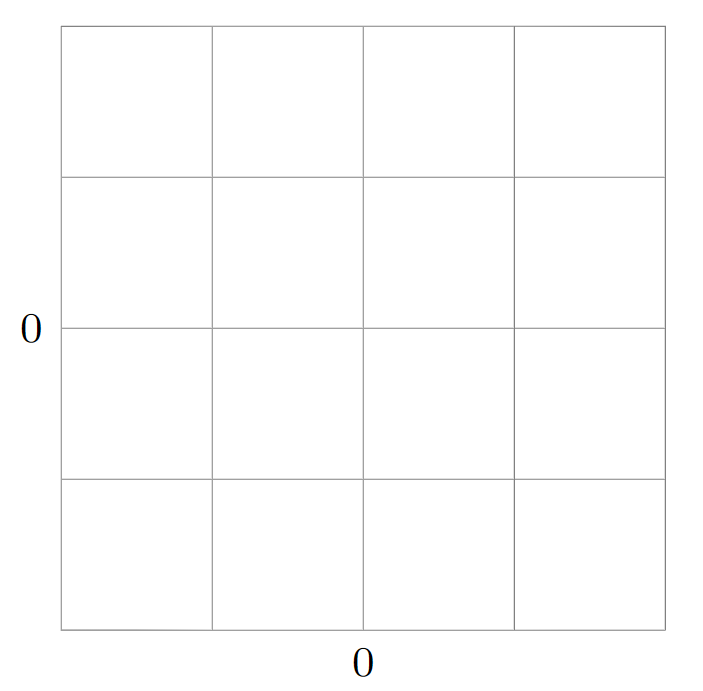
it does not mean however that we have created a zero-dimensional object. Each node consists of content, padding (inner separation), border, margin (outer separation) and anchors.
The empty content in the line of code above results in it being a point at the location (0,0). The padding and border can be made visible by adding draw option:
\node[draw] at (0,0) {};which results in:
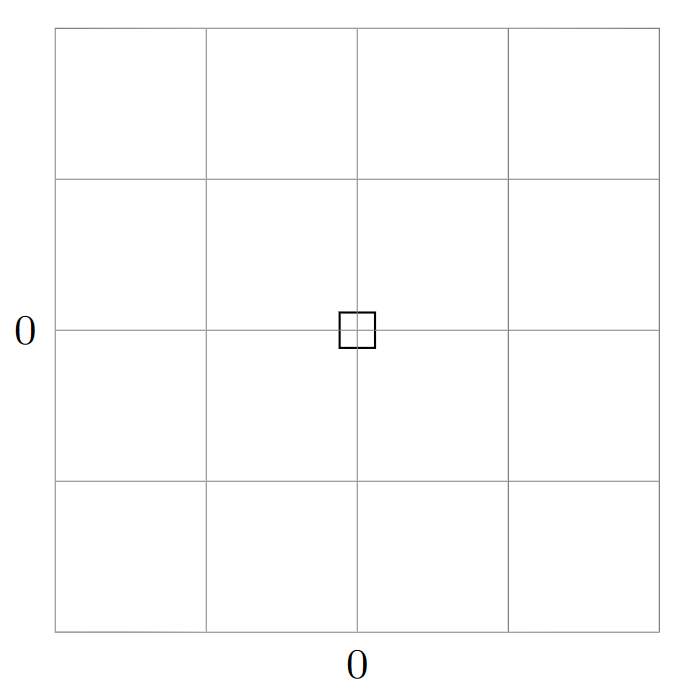
from which we can see that the default shape of a node is rectangular, and the default padding is about 1mm.
The inner sep option
The inner sep option influences the padding. If we place, e.g., an image as a node:
\node[draw] at (0,0) {\includegraphics[width=2cm]{galileo.png}};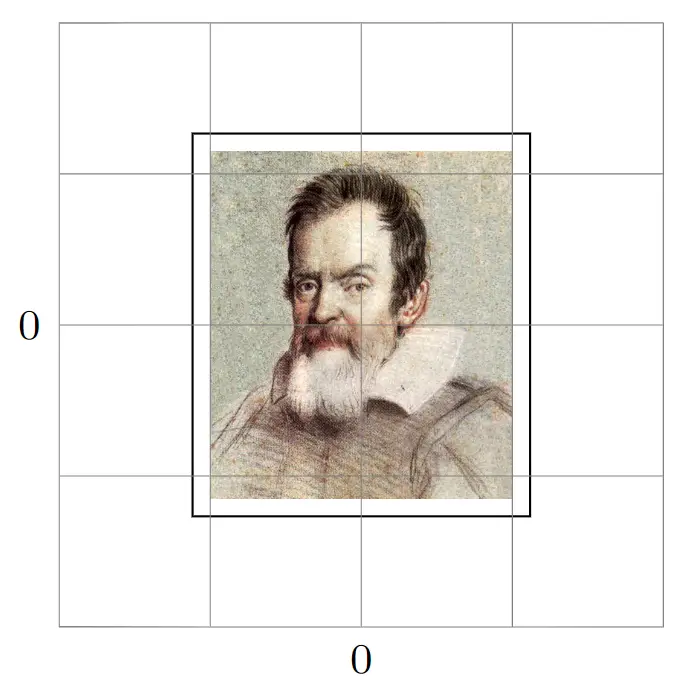
the size of the content will be image-width x image-height, but the size of the whole node will be, roughly, (image-width + 1mm) x (image-height +1mm).
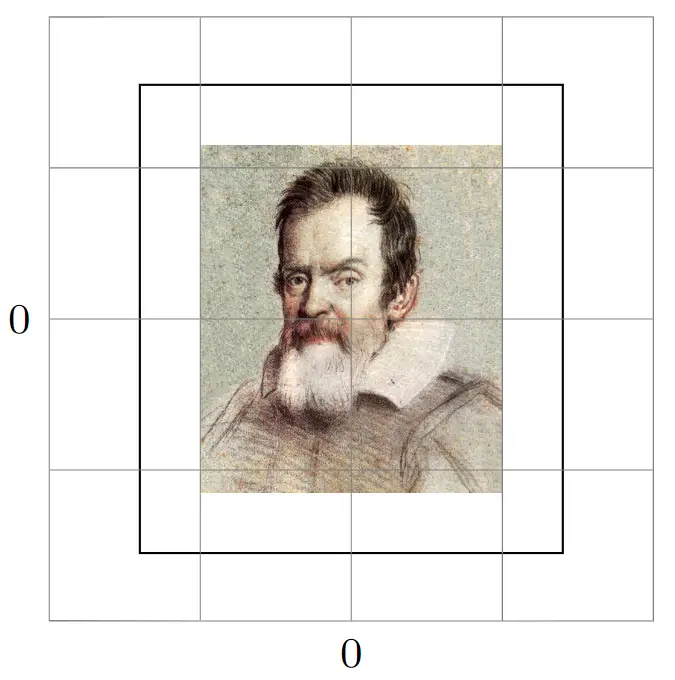
We can change the size of the padding by:
\node[draw, inner sep = 4mm] at (0,0)
                      {\includegraphics[width=2cm]{galileo.png}};
When do we need to use the option?
Firstly, you may want to increase the distance of node anchors from the node content. As the anchors are located on the border, increasing inner separation shifts the anchors away from the content (this effect can also be obtained by means of the outer sep option).
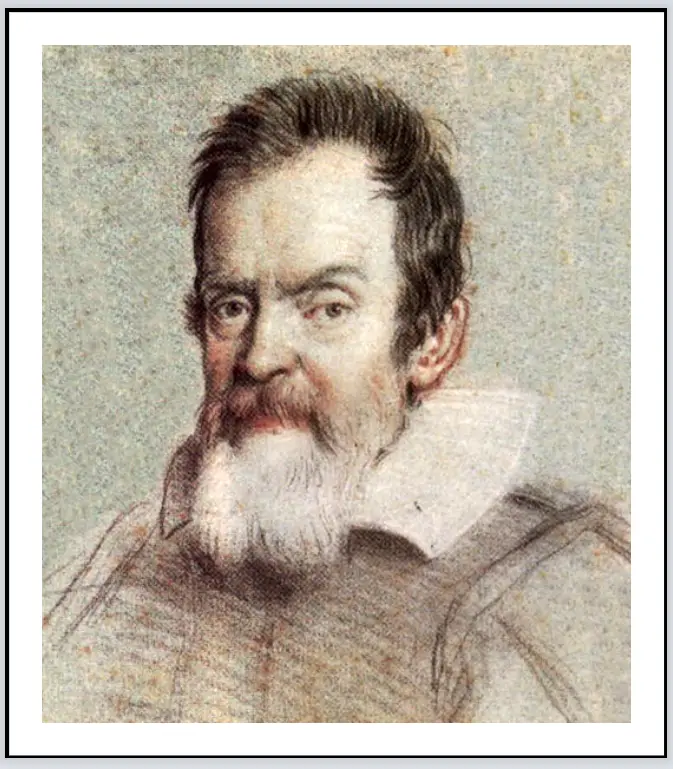
Secondly, you may as well feel like reducing the inner separation completely. The natural example is the situation in which you want to create an annotated image in TikZ. If you want the image to be a separate picture the optimal solution is to embed it in the file by means of the standalone class. However, in the case you do not zero inner separation and use the following code:
\documentclass{standalone}
\usepackage{tikz}
\begin{document}
\begin{tikzpicture}
\node[draw] at (0,0) {\includegraphics[width=2cm]{galileo.png}};
\end{tikzpicture}
\end{document}
the result will be the following image:
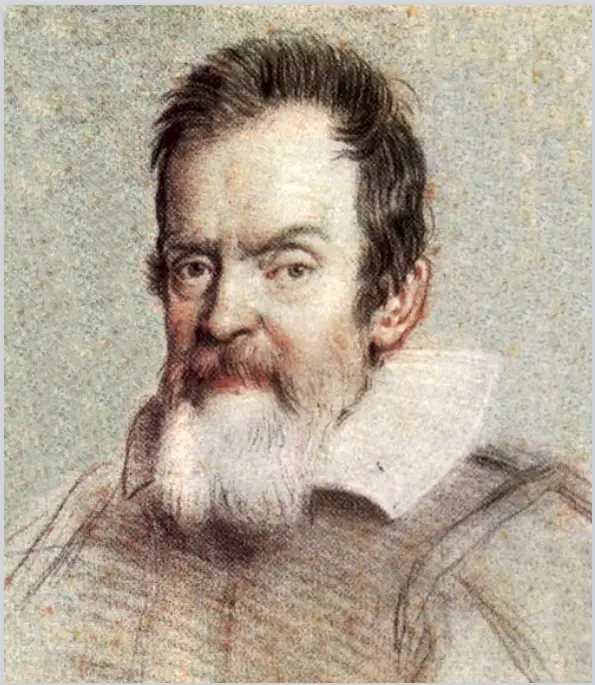
Modifying the relevant line to:
\node[inner sep=0mm] at (0,0)
                     {\includegraphics[width=2cm]{galileo.png}};
will bring it to the desired form:
We’ve reached the end of this tutorial. If you have any questions or suggestions feel free to reach me via email at admin@latexdraw.com.