This short tutorial is about drawing a free body diagram of a skydiver with parachute. The obtained results will look like the next illustration. Mainly, we will learn how to:
- draw an arc in LaTeX using TikZ,
- use foreach loop for repetitive objects,
- draw animals in TikZ using the package TikZlings,
- draw arrows and change line width.

Step 1: Canopy of the Parachute
The canopy is one of the main components of a parachute system. In this tutorial, we will draw the simplest version of it using only linked arcs such that the end point of an arc is the start point of the next one. This is repeated until we reach the starting point of the first arc. Let's start by answering the question how to draw an arc in TikZ?
The following LaTeX code corresponds to the canopy part which is drawn by the mean of 7 arcs:
\documentclass[border=0.5cm]{standalone}

\usepackage{tikz}

\begin{document}

\begin{tikzpicture}

% Canopy
\draw (0:3.5) arc(0:180:3.5)
	arc (180:0:0.5)
	arc (180:0:0.5)
	arc (180:0:0.5)
	arc (180:0:0.5)
	arc (180:0:0.5)
	arc (180:0:0.5)
	arc (180:0:0.5)-- cycle;

\end{tikzpicture}

\end{document}
Starting from the point (3.5,0), we draw an arc from 0 degree to 180 degrees with radius 3.5cm. Then, another smaller arc with radius 0.5cm is drawn from the end point of the previous arc. It starts from 180 degrees to 0 degrees.
The same process is repeated for the remaining 6 arcs!

Simplify the code with a For Loop
The above code can be optimized by using a for loop which can be achieved through the foreach command. Here is the obtained result:
\documentclass[border=0.5cm]{standalone}

\usepackage{tikz}

\begin{document}

\begin{tikzpicture}

% Canopy
\draw [left color=teal!80,
			right color=green!80](0:3.5) arc(0:180:3.5)
			\foreach \i in {1,...,7}{arc (180:0:0.5) }-- cycle;

\end{tikzpicture}

\end{document}
We used a foreach to repeat the same command, arc(180:0:0.5)), 7 times!
Furthermore, we have added shading to the canopy shape by specifying the left and right colors in the draw command. For a detailed list of predefined TikZ colors, I invite you to check this post: Predefined LaTeX Colors: dvipsnames

Step 2: Suspension Lines
From the extremities of each arc, we will draw a straight line that ends at the point with coordinates (0,-5.5). As it is a repetitive shape, we will use a foreach command that specifies the x-coordinate of each starting point. Here is the LaTeX code:
\documentclass[border=0.5cm]{standalone}

\usepackage{tikz}

\begin{document}

\begin{tikzpicture}

% Canopy
\draw [left color=teal!80,right color=green!80](0:3.5) arc(0:180:3.5)
	\foreach \i in {1,...,7}{arc (180:0:0.5) }-- cycle;

% Suspension lines
\foreach \i in {-3.5,...,3.5}
{
	\draw (\i,0) -- (0,-5.5);
}

\end{tikzpicture}

\end{document}

Now, it remains to draw the essential part of the illustration, The Skydiver 
Step 3: TikZ animals
Tikzlings package, developed by samcarter, offers a collection of animals and beings drawn in TikZ. It includes:
- bear
- cat
- coati
- hippo
- koala
- marmot
- moles
- mouse
- owl
- panda
- penguin
- pig
- rhino
- sloth
- anteater
- squirrel
- bee
- and the snowman
The next illustration shows the animals list with the corresponding commands.

This amazing package also includes different options such as: changing colors, draw a back version of the animal, draw a 3D version, add accessories and much more!
Draw the Skydiver
The penguin will play the role of a skydiver. To draw it we need to load the Tikzlings package or just the subpackage containing the animal tikzlings-penguins. Then we use the command \penguin inside a scope to put it at any desired position as it is drawn at the origin by default.
\documentclass[border=0.5cm]{standalone}
\usepackage{tikz}
\usepackage{tikzlings-penguins}
\begin{document}
\begin{tikzpicture}
% Canopy
\draw[left color=teal!80,right color=green!80](0:3.5) arc(0:180:3.5)
\foreach \i in {1,...,7}{arc (180:0:0.5) }-- cycle;
% Suspension lines
\foreach \i in {-3.5,...,3.5}
{
\draw (\i,0) -- (0,-5.5);
}
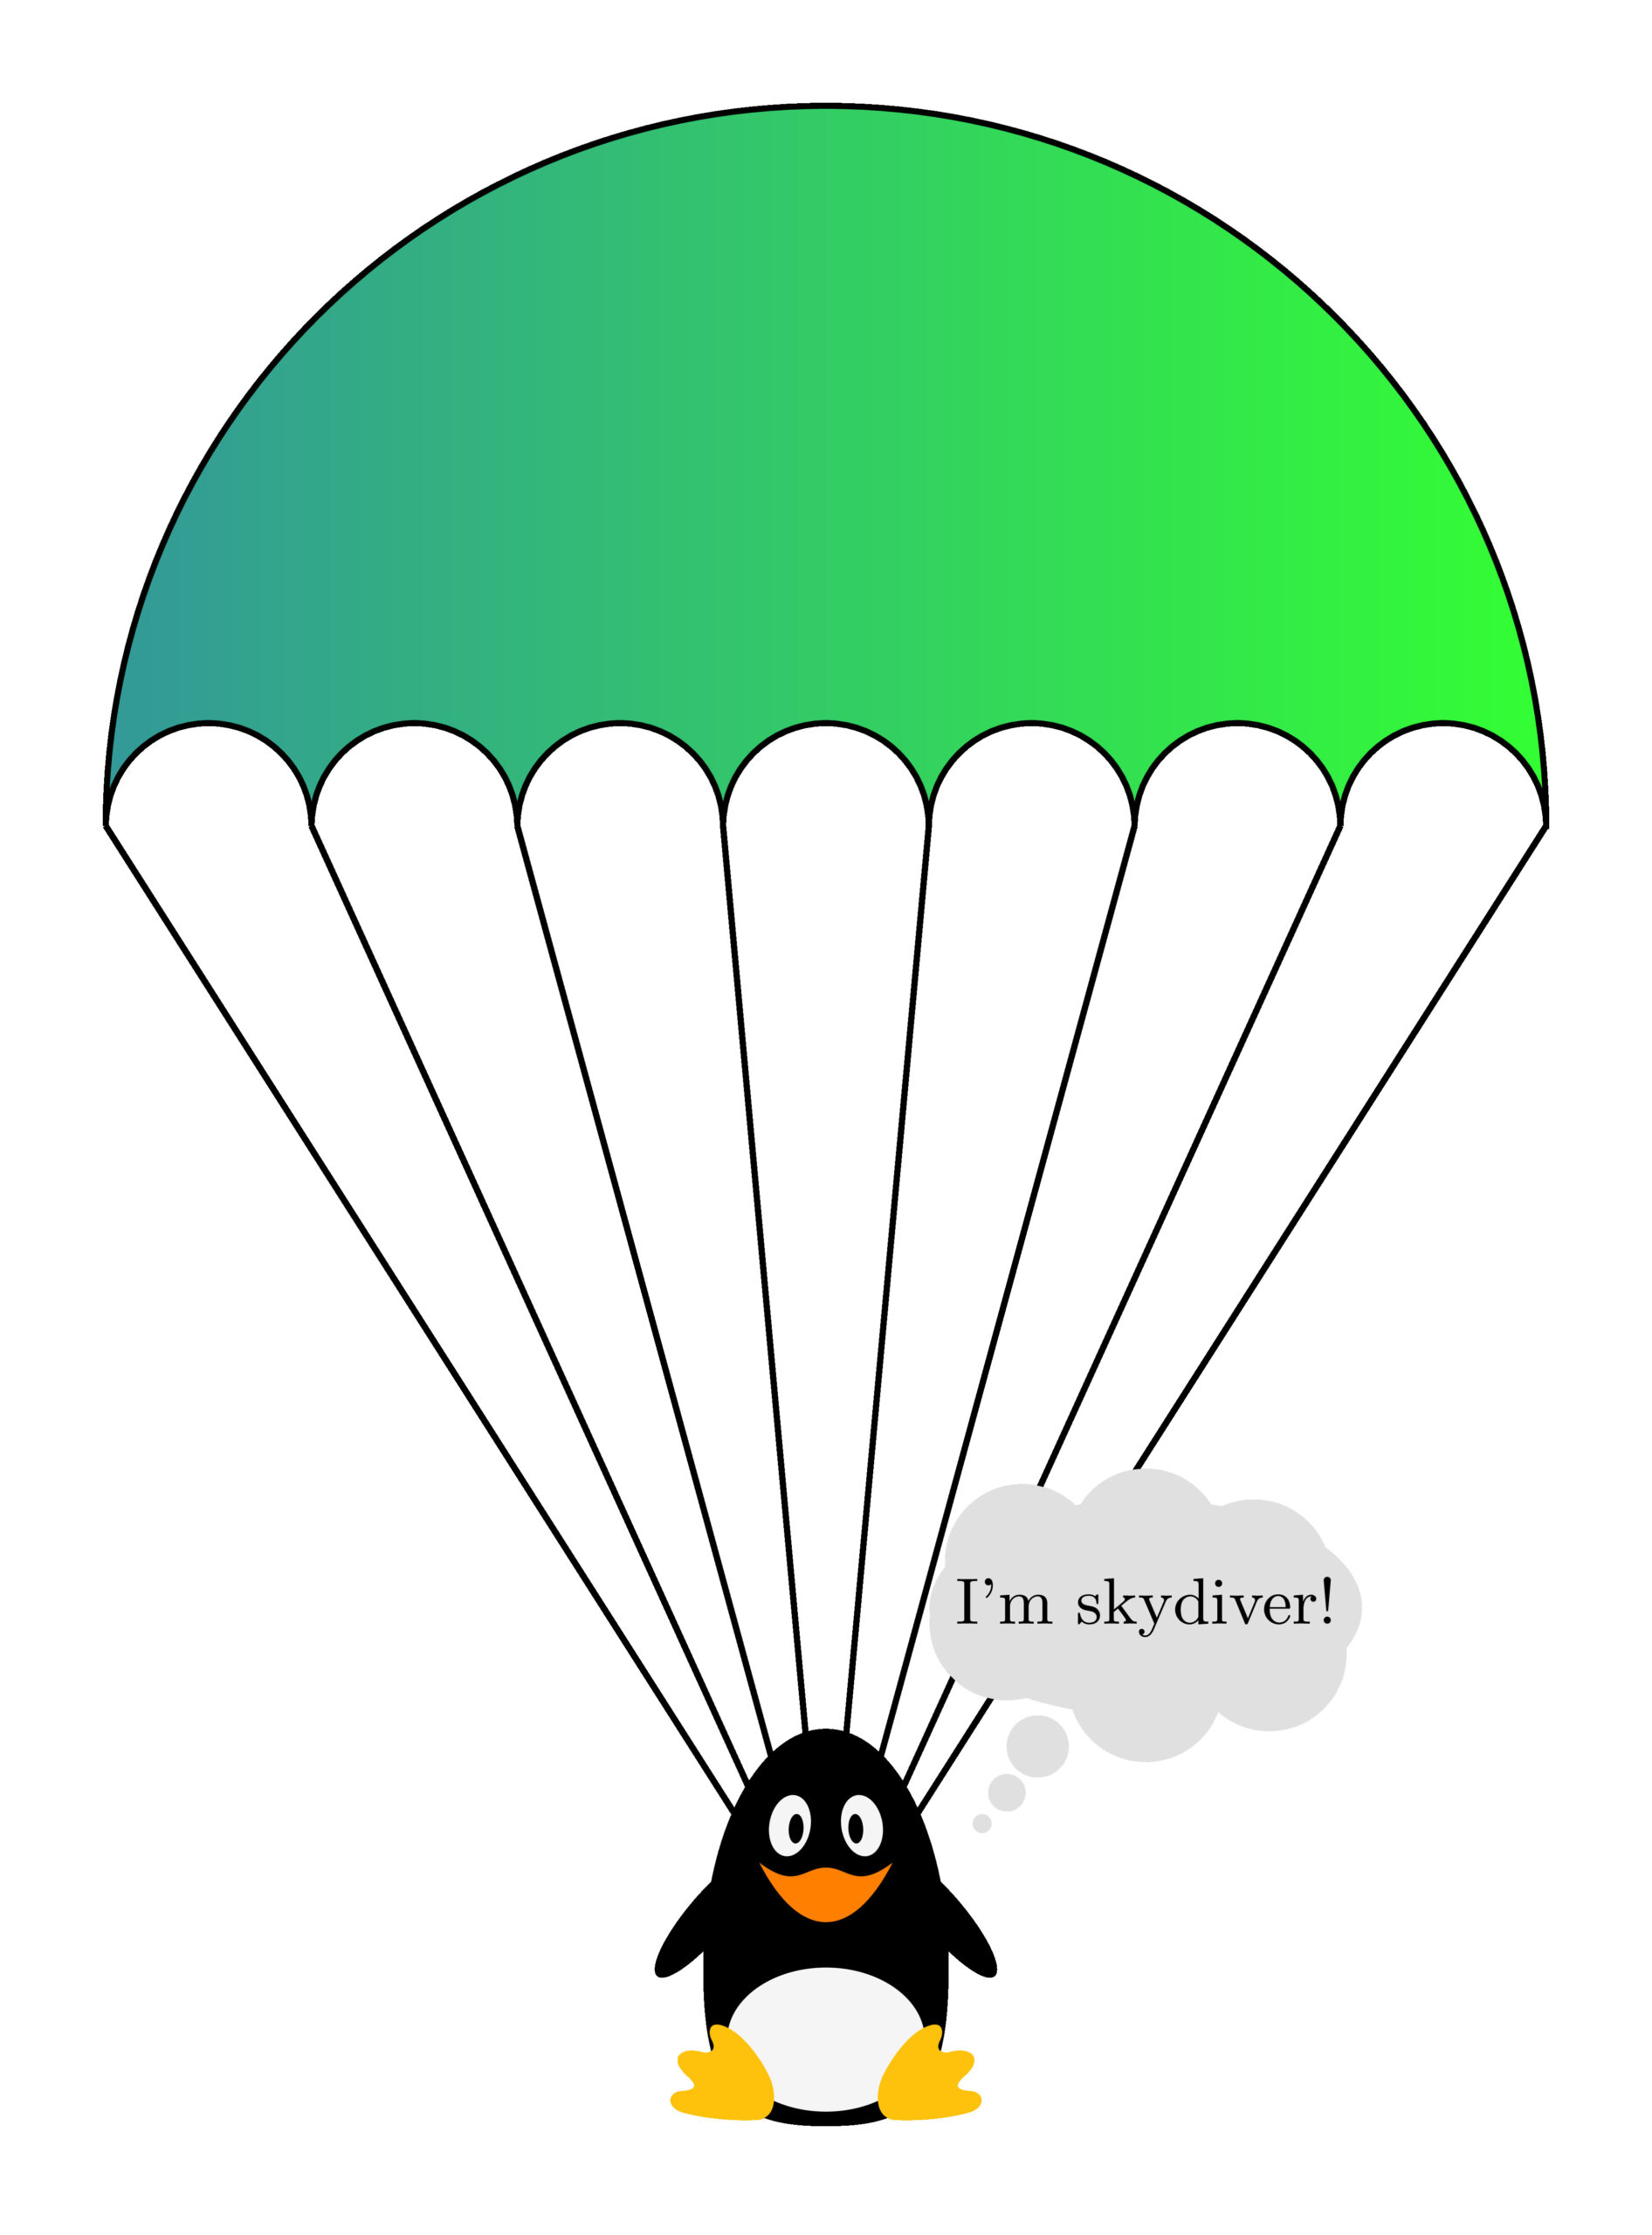
% Skydiver (Penguin)
\begin{scope}[yshift=-6.5cm]
\penguin
\thing[
think={\small I'm skydiver!},
scale=1.5,
yshift =-0.6cm,
xshift=-0.05cm]
\end{scope}
\end{tikzpicture}
\end{document}
We have added a thinking shape using the command katex is not defined with scaling and shifting options to put it at the right position. I deeply invite you to check the amazing accessories and customization that you can add in the package documentation.

Free Body Diagram of a Skydiving-Parachute system
Step 4: Free Body Diagram
Now, we need to draw arrows that represent different forces applied on the skydiving-parachute system, namely, the gravity and the air resistance force. Here is the final LaTeX code of the free body diagram of this system:
\documentclass[border=0.5cm]{standalone}

\usepackage{tikz}
\usepackage{tikzlings-penguins}

\begin{document}

\begin{tikzpicture}

% Free body diagram

% Gravity
\draw[-latex, line width=0.2cm,red] (0,-5.5) -- ++(0,-3cm)
node[midway,left]{Gravity};

% Air resistance force
\draw[-latex, line width=0.2cm,teal] (0,3.5) -- ++(0,2.5cm)
node[midway,left]{Drag Force};

% Canopy
\draw[left color=teal!80,right color=green!80](0:3.5) arc(0:180:3.5)
\foreach \i in {1,...,7}{arc (180:0:0.5) }-- cycle;

% Suspension lines
\foreach \i in {-3.5,...,3.5}
{
	\draw (\i,0) -- (0,-5.5);
}

% Skydiver (Penguin)
\begin{scope}[yshift=-6.5cm]
	\penguin
	\thing[
		think={\small I'm skydiver!},
		scale=1.5,
		yshift =-0.6cm,
		xshift=-0.05cm,
	]
\end{scope}

\end{tikzpicture}

\end{document}
Comments:
Arrows are drawn by adding the option -latex to \draw command. The thickness of the arrow is changed by modifying the line width value as follows: line width=0.2cm.
We have arrived to the end of the tutorial, I hope you find it useful  . If you have any comments or suggestions, I will be happy to hear from you.
Thanks!