Cloud shape in TikZ
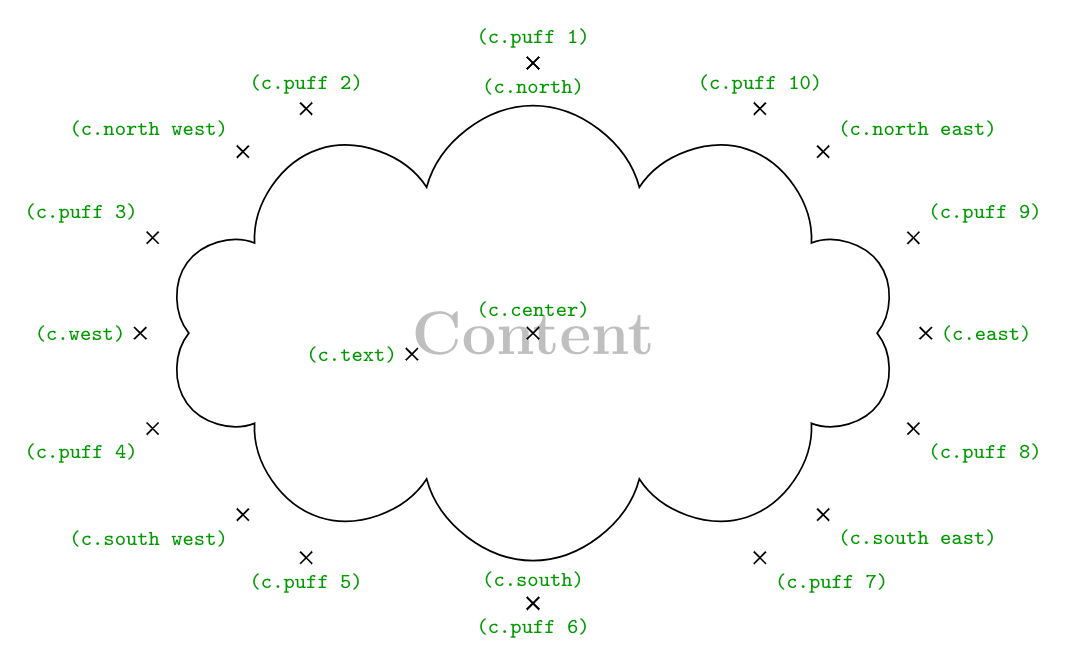
Cloud shape is a part of the shapes.symbols TikZ library, so to work with this shape, we need to declare the library. The following line code draws a cloud shape by providing cloud key to the node command. The node is named (c) and drawn at the point with coordinates (0,0):
 \documentclass[border=0.2cm]{standalone}

\usepackage{tikz}
\usetikzlibrary{shapes.symbols}

\begin{document}

\begin{tikzpicture}

\node[cloud, draw] (c) at (0,0) {};

\end{tikzpicture}

\end{document}
It should be noted that the cloud node will be drawn only if we provide draw option to the node command.
Add text to the cloud node
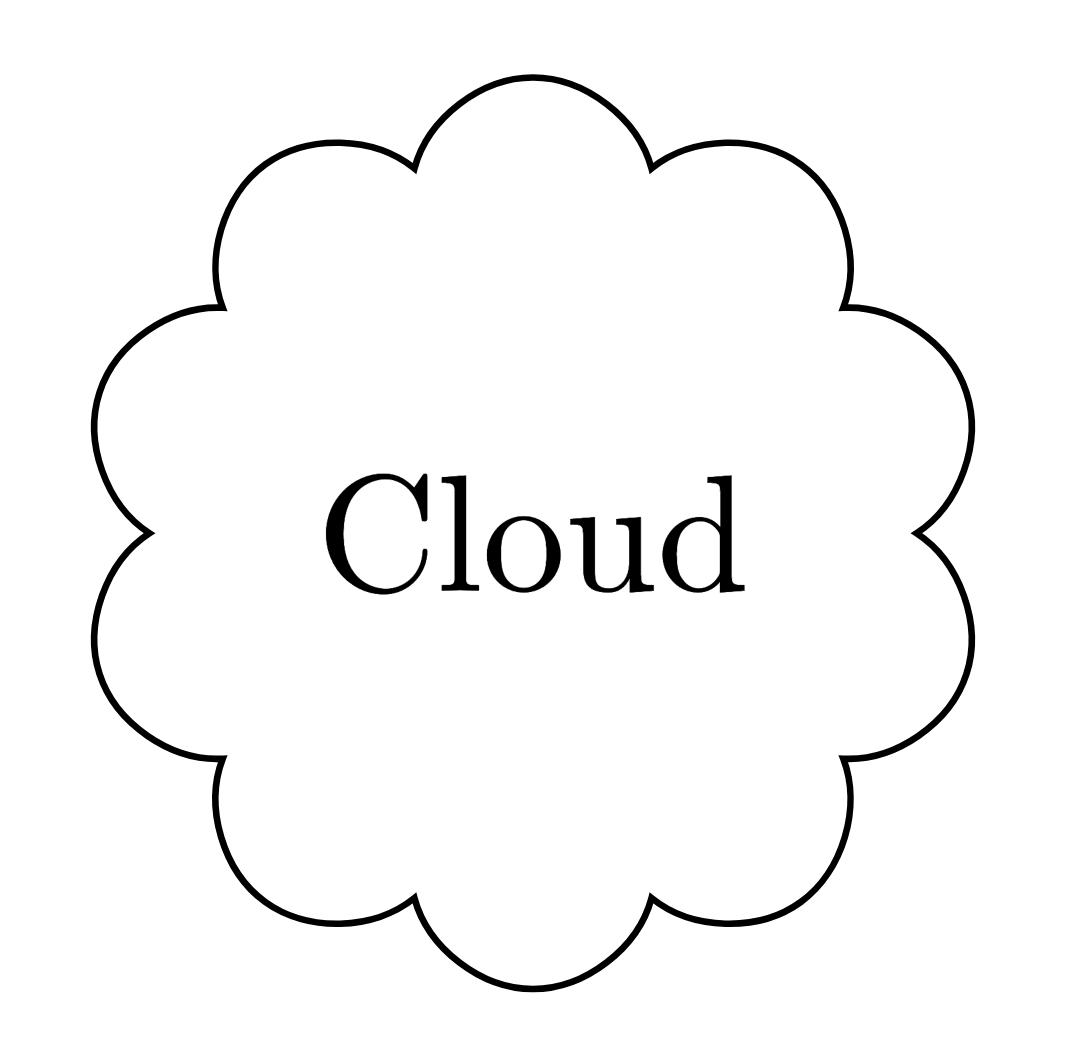
The previous code creates a cloud node with empty content. Text can be added inside the cloud node by putting it between the curly braces {} as follows.
 \documentclass[border=0.2cm]{standalone}

\usepackage{tikz}
\usetikzlibrary{shapes.symbols}

\begin{document}

\begin{tikzpicture}

\node[cloud, draw] (c) at (0,0) {Cloud};

\end{tikzpicture}

\end{document}
To fit the text inside the shape, this line of code yields to a cloud with a size depends on its content.
Change text color of the cloud node
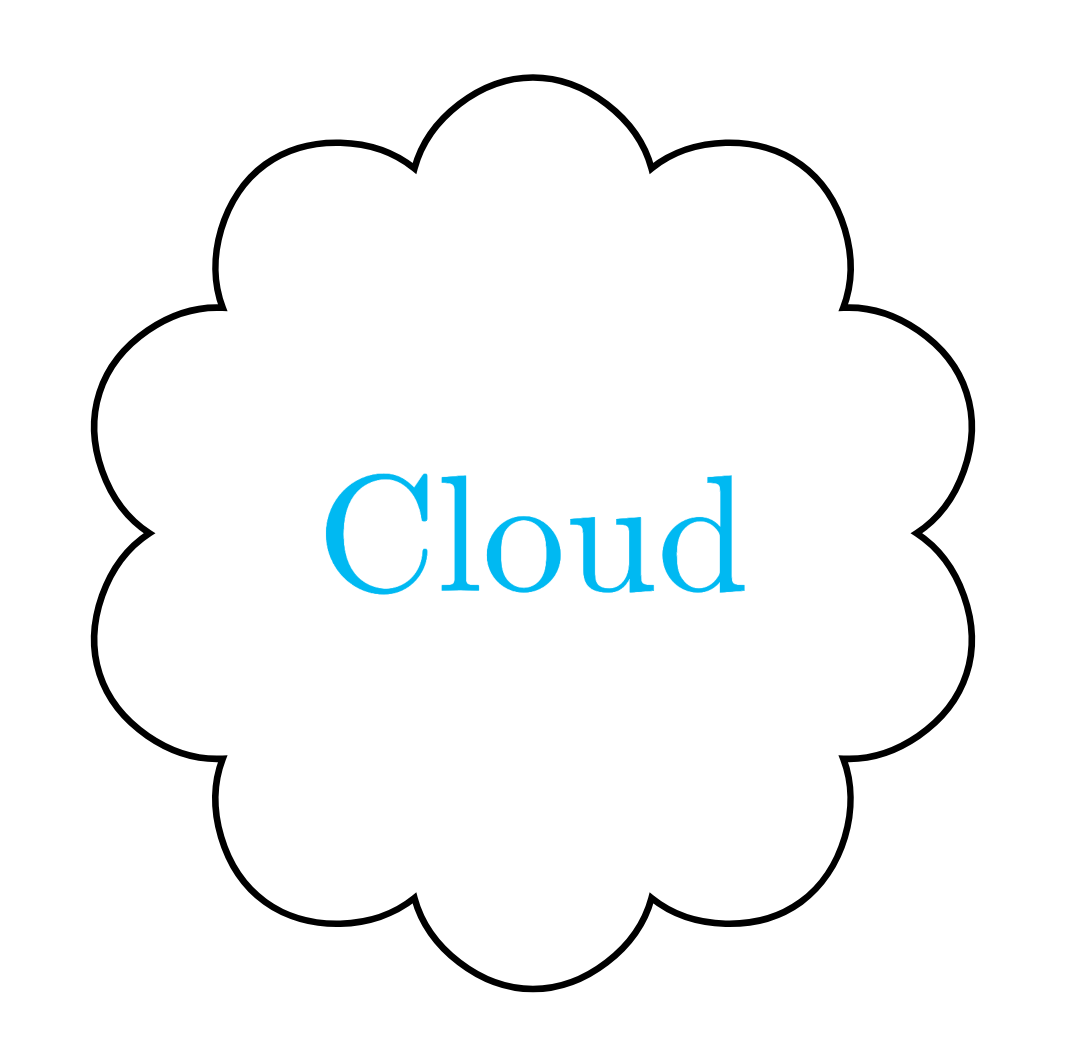
In the previous section, we have added content to the cloud node and now we would like to change the text color. This can be achieved by providing the option text = <color> to the \node command:
 \documentclass[border=0.2cm]{standalone}

\usepackage{tikz}
\usetikzlibrary{shapes.symbols}

\begin{document}

\begin{tikzpicture}

\node[cloud, draw,text=cyan] (c) at (0,0) {Cloud};

\end{tikzpicture}

\end{document}
Add filling color to a node
The cloud node can be filled with any color using the option fill = <color>. Here is an illustrative example of a light gray filling with our cyan text:
 \documentclass[border=0.2cm]{standalone}

\usepackage{tikz}
\usetikzlibrary{shapes.symbols}

\begin{document}

\begin{tikzpicture}

\node[cloud, draw,text=cyan,fill = gray!10] (c) at (0,0) {Cloud};

\end{tikzpicture}

\end{document}

Change the border line color of a node
The cloud border color can be modified (default is black) by providing the color name to the draw option draw = <color>. Here is an example of a cloud filled with light gray, has cyan text and blue borders:
 \documentclass[border=0.2cm]{standalone}

\usepackage{tikz}
\usetikzlibrary{shapes.symbols}

\begin{document}

\begin{tikzpicture}

\node[cloud, draw =blue,text=cyan,fill = gray!10] (c) at (0,0) {Cloud};

\end{tikzpicture}

\end{document}

Change the size of a cloud node
We mentioned above that the size of a cloud depends on its content. This is always true and we can set only the minimum size of a cloud. We can arrange a minimum size for its width with minimum width option, and similarly, we can set its height by using minimum height option. Below, we set the minimum width value to 3 cm and the minimum height value to 2 cm.
 \documentclass[border=0.2cm]{standalone}

\usepackage{tikz}
\usetikzlibrary{shapes.symbols}

\begin{document}

\begin{tikzpicture}

\node[cloud,
	draw =blue,
	text=cyan,
	fill = gray!10,
	minimum width = 3cm,
	minimum height = 2cm] (c) at (0,0) {Cloud};

\end{tikzpicture}

\end{document}
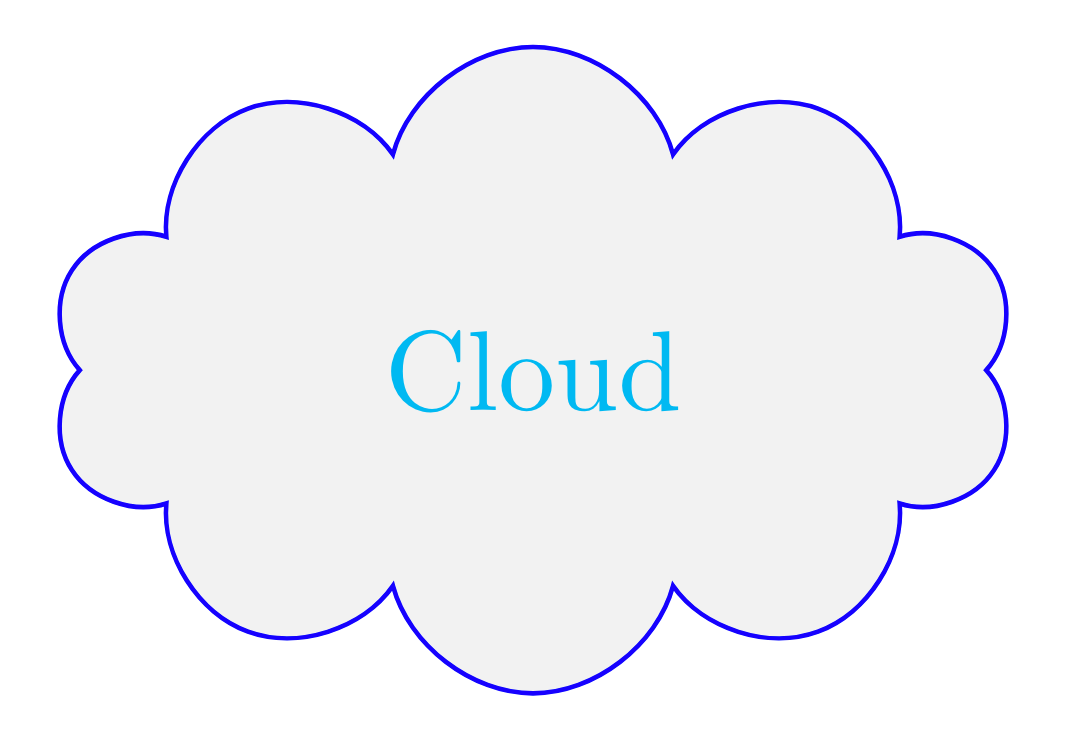
We can also change the width/height ratio of the cloud, using the aspect option. By default, the option is set to 1. To have a longer, slimmer cloud, we can set it to a parameter smaller than 1. Following line of code sets the aspect to 0.7.
 \documentclass[border=0.2cm]{standalone}

\usepackage{tikz}
\usetikzlibrary{shapes.symbols}

\begin{document}

\begin{tikzpicture}

\node[cloud,
	draw =blue,
	text=cyan,
	fill = gray!10,
	aspect=0.7] (c) at (0,0) {Cloud};

\end{tikzpicture}

\end{document}
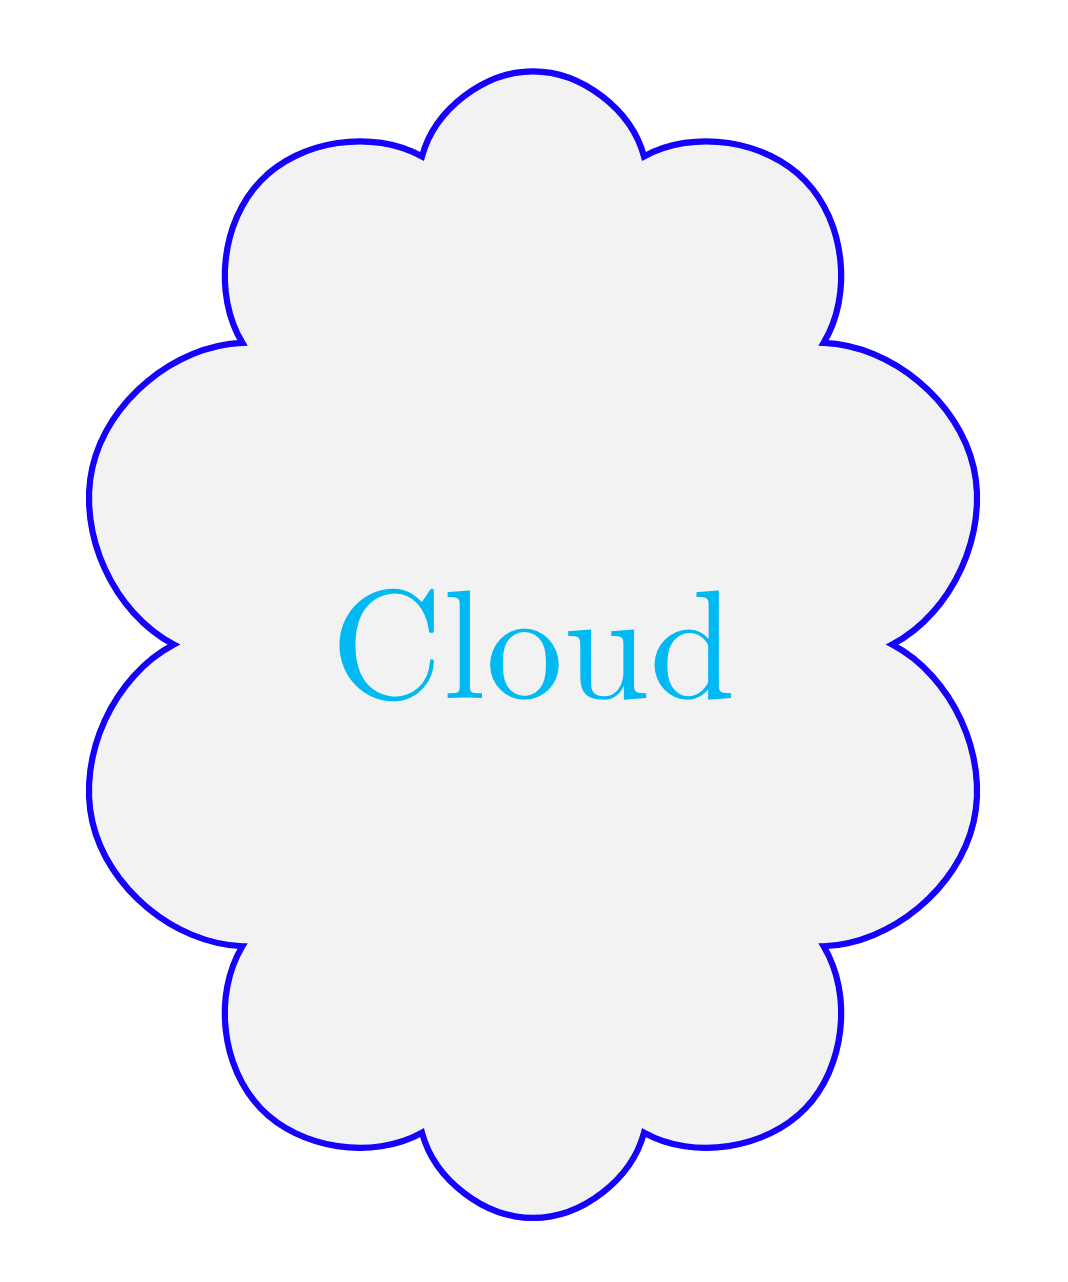
In a similar way, we can have wider clouds by setting their aspect option to a parameter larger than 1. Change aspect value to 1.5 in the above code and compile it!
Modify the cloud puffs
A cloud node shape consists of little arcs called puffs. By default, a cloud has 10 puffs. We can change this setting using cloud puffs option. Here is an example of a cloud with 16 puffs.
 \documentclass[border=0.2cm]{standalone}

\usepackage{tikz}
\usetikzlibrary{shapes.symbols}

\begin{document}

\begin{tikzpicture}

\node[cloud,
	draw =blue,
	text=cyan,
	fill = gray!10,
	aspect=1.5,
	cloud puffs = 16] (c) at (0,0) {Cloud};

\end{tikzpicture}

\end{document}
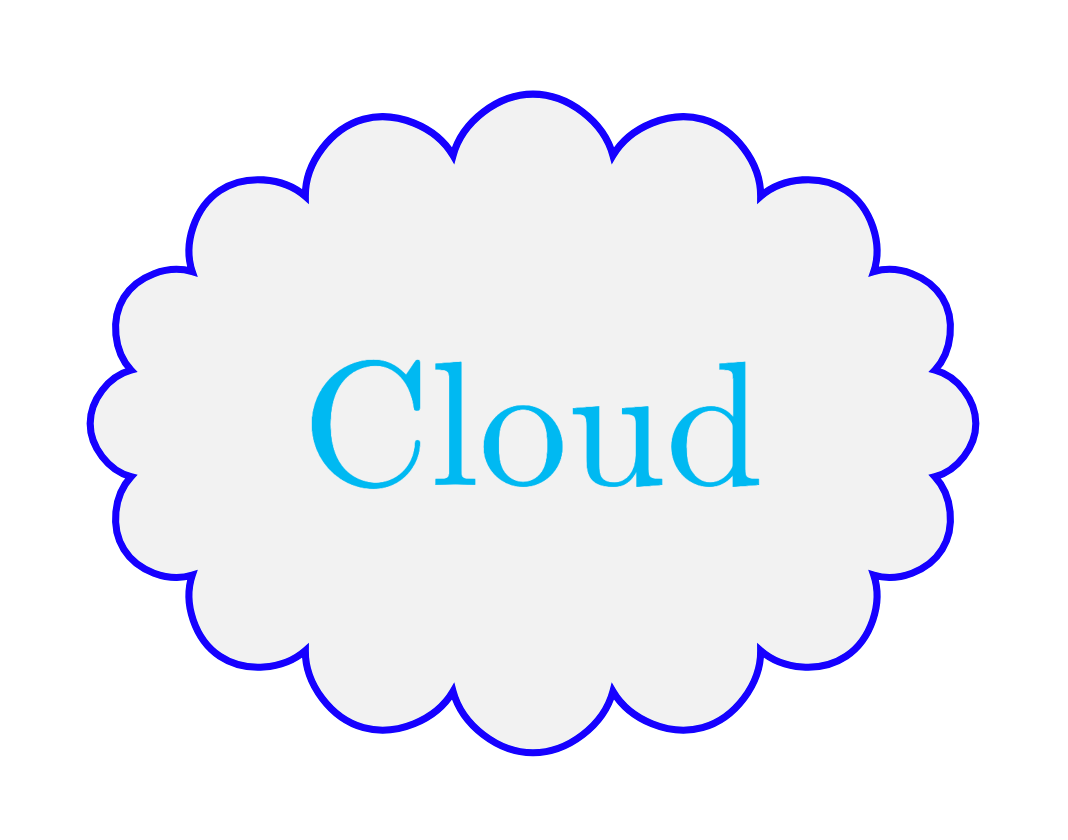
We can also change the length of these arcs. They are 135 degrees by default, but we can change this using cloud puff arc option. Below, we set the arc length of each cloud puff to 90 degrees.
 \documentclass[border=0.2cm]{standalone}

\usepackage{tikz}
\usetikzlibrary{shapes.symbols}

\begin{document}

\begin{tikzpicture}

\node[cloud,
	draw =blue,
	text=cyan,
	fill = gray!10,
	aspect=1.5,
	cloud puffs = 16,
	cloud puff arc = 90] (c) at (0,0) {Cloud};

\end{tikzpicture}

\end{document}

Anchors of a cloud node
The advantage of using a node cloud is that it defines a set of anchors that we can use to get coordinates of the node borders or to position nodes with accuracy with respect to given coordinates. By default, node center is positioned at the provided coordinates ((0,0) for the previous examples)).
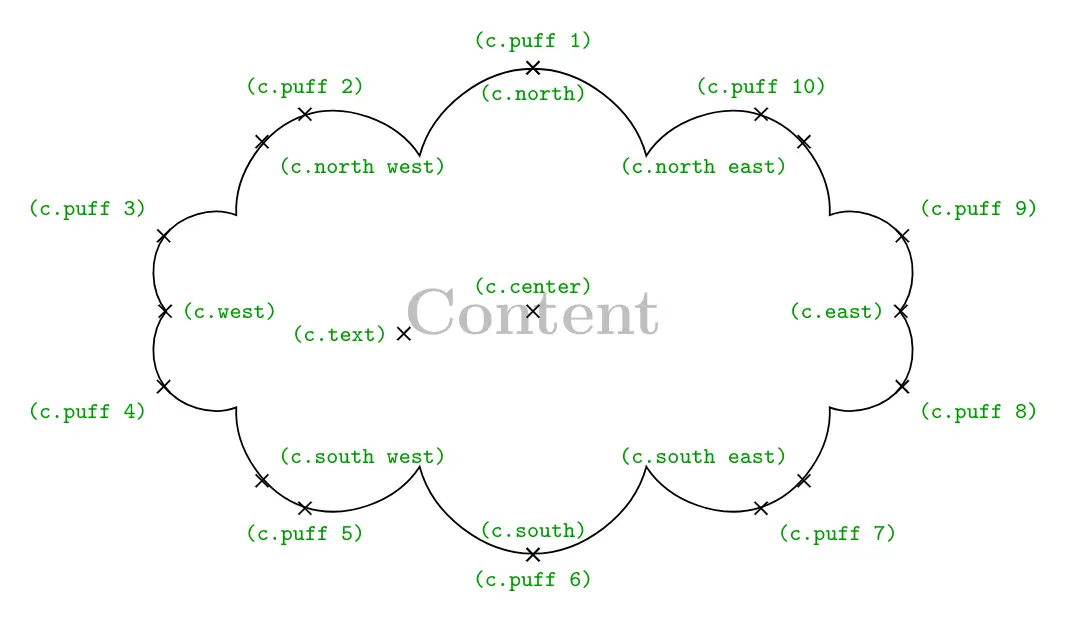
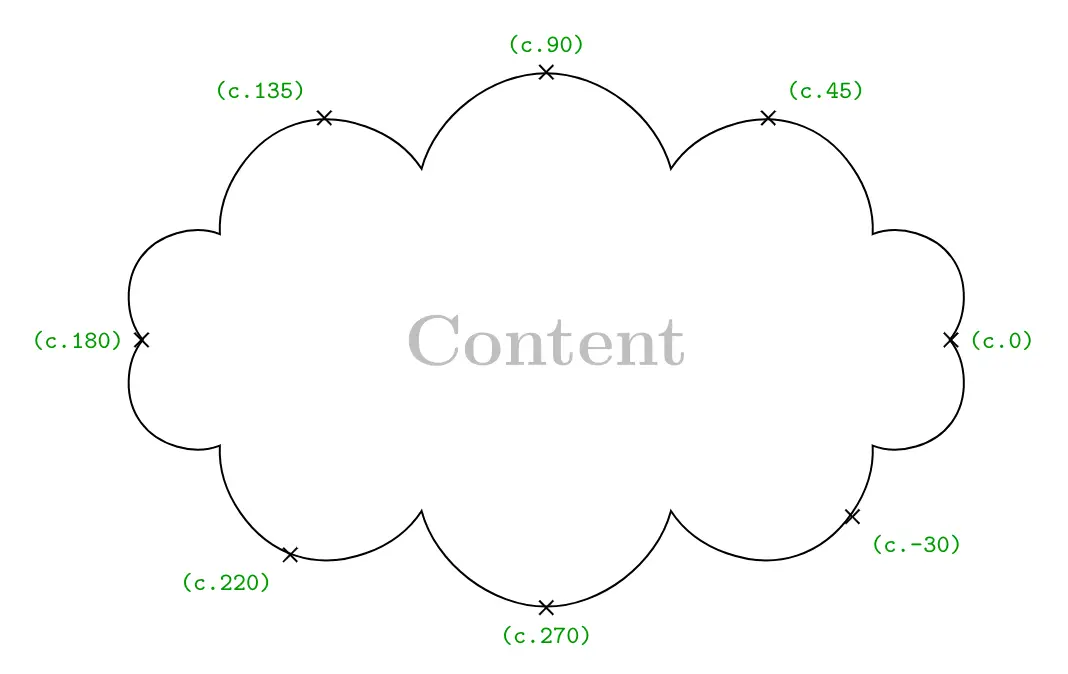
Adding anchor = east will place the node point (c.east) at the provided coordinate (0,0). Check this post: how to annotate an image in LaTeX (Positioning Nodes using Anchors section).
Outer separation
The above anchors can be moved outside the node border by adding outer sep = <value> to the node command. Here is an example of anchors moved outside the node border with 10pt.
