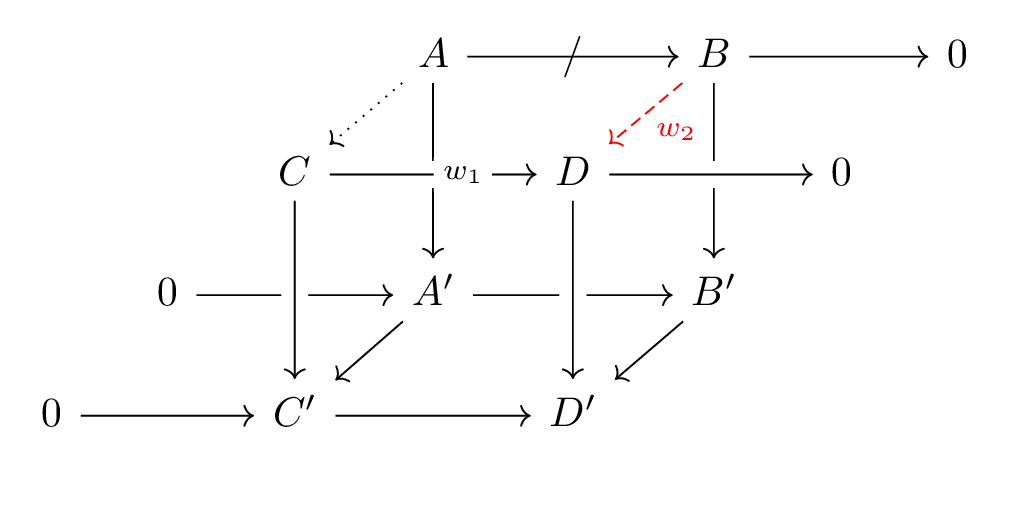
3D commutative diagram
The first example corresponds to a 3d commutative diagram with interesting drawing options such as line style (dashed, dotted), line color, marking and labels style.

- Required package
To draw commutative diagrams in LaTeX, we can use the TikZ package together with cd library:
% Required package
\usepackage{tikz}
\usetikzlibrary{cd}
Or simply, we can load tikz-cd package directly:
% Required package
\usepackage{tikz-cd}
- What is tikzcd environment
The next step is to create the drawing environment which is provided by cd library, known as tikzcd environment:
\documentclass[border = .2cm]{standalone}

% Required package
\usepackage{tikz-cd}

\begin{document}

\begin{tikzcd}
	% Illustration Code goes here
\end{tikzcd}

\end{document}
The illustration code should describe a matrix. We will declare the nodes just like creating a matrix structure in TikZ or a table in \LaTeX. We will separate the columns with & and declare new rows with \\.
- Create the matrix of the commutative diagram
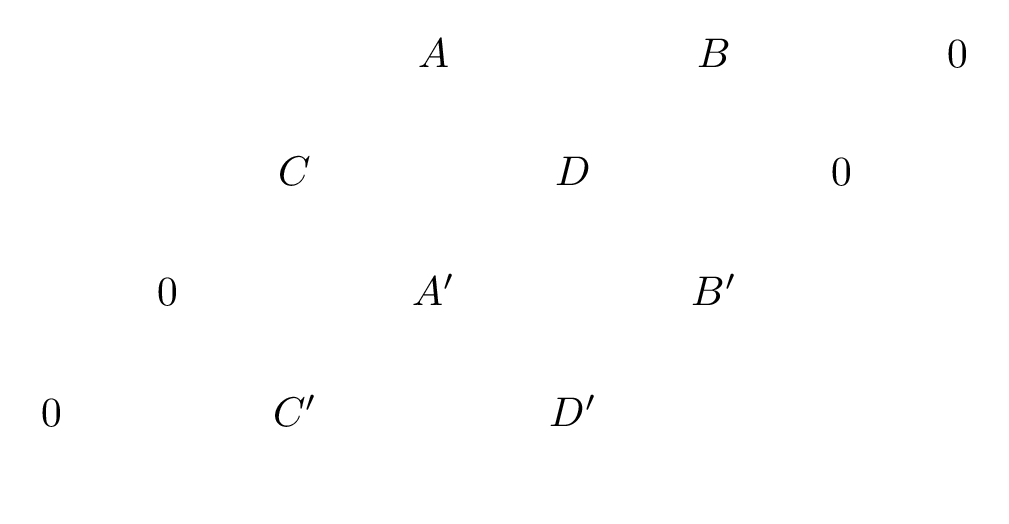
In our drawing, we have four rows and eight columns. Most of these places will be empty to create a well spaced out, easy to read diagram.
For example, for the first row, we will only fill three cells, so our line will look like: & & &A& &B& &0\\. Here is the corresponding code:
\documentclass[border = .2cm]{standalone}

% Required package
\usepackage{tikz-cd}

\begin{document}

\begin{tikzcd}[sep = .5 cm]
	& 	& 	& A & 	& B &		& 0 \\
	& 	& C & 	& D &		& 0 	\\
	& 0 & 	& A^{\prime} & 	& B^{\prime} \\
0 &		& C^{\prime} & 	& D^{\prime} \\
\end{tikzcd}

\end{document}

- Add arrows between matrix cells
Now, we place the arrows to represent the commutative properties of the diagram. cd library provides an \arrow command to create these connections. For each direction, it is using shortcut letters:
- r for right,
- l for left,
- u for up
- and d for down.
For example, to draw an arrow towards a cell that is two cells right and one cell up, we can use \arrow [rru] command. Notice that we are taking the empty cells into consideration while drawing the arrows: for instance, to draw from A to B we need to go two cells left, not one.
- Overlapping arrows
In some cases the arrows may overlap and it might be hard to understand which arrow goes where. To avoid this problem, we need to draw the back layers first, and while drawing the front layers we must use crossing over option. We can. declare arrows from their destination cell using from option, like we used to connect D and D' cells (\arrow [from = uu, crossing over]).
- Add labels to arrows
We have different options to label the commute arrows. Just adding an option in double quotes will create a label. We can place this label where we want it using a positioning keyword such as right, above, below left, etc. right after the label text. We can also add the label inside the arrow: if we want it as a text we can use description option, or we can use marking option to show the label as a part of the arrow without any spacing.
We also have the ability to change the styling of the arrows, we can declare dotted or dashed arrows, and also set their colors, like we used in the arrow from B to D.
- LaTeX code of the 3D commutative diagrams
Here is the final version of the 3D commutative diagram LaTeX code:
\documentclass[border = .2cm]{standalone}

% Required package
\usepackage{tikz-cd}

\begin{document}

\begin{tikzcd} [sep = .5 cm]
& & & A \arrow [dl, dotted] \arrow [rr, "/" {marking}] \arrow [dd] & & B \arrow [dl, dashed, red, "w_2"] \arrow [dd] \arrow [rr] & & 0 \\
& & C \arrow [rr, "w_1" {description, right}, crossing over] & & D \arrow [rr, crossing over] & & 0 \\
& 0 \arrow [rr] & & A^{\prime} \arrow [dl] \arrow [rr] & & B^{\prime} \arrow [dl] \\
0 \arrow [rr] & & C^{\prime} \arrow [rr] \arrow [from = uu, crossing over] & & D^{\prime} \arrow [from = uu, crossing over]\\
\end{tikzcd}

\end{document}
We reached the end of Today's tutorial, If you have any remarks or suggestions, leave me a comment below or reach me via email at admin@latexdraw.com.
