1. Absolute Position on a Page
Absolute positioning is necessary when we would like to deal with exact coordinates in a page. Fortunately, there is already a defined node, named current page where we can use it to access the current page.
It is a rectangle node whose named (current page.south west) anchor is the lower left corner of the page and whose named (current page.north east) anchor is the upper right corner of the page. For more details, one can refer to Referencing the Current Page Node in TikZ & PGF manual.
As current page is a node name then we can use it to define page border coordinates:
- (current page.north east): is the coordinate of the upper right corner of the page.
- (current page.north): is the coordinate of the upper corner of the page.
- (current page.center): is the coordinate of the center of the page.
- (current page.south east): is the coordinate of the lower right corner of the page.
- ... etc
The next illustration summarizes the main used coordinates of a page. However, all positions on a node apply for the current page node.

Current page anchors
2. Background Layer Option in TikZ
when we deal with absolute positioning on a page, we need this to be on a lower layer as a background of the current page. For that, it is necessary to add the following options to the tikzpicture environment: remember picture and overlay.
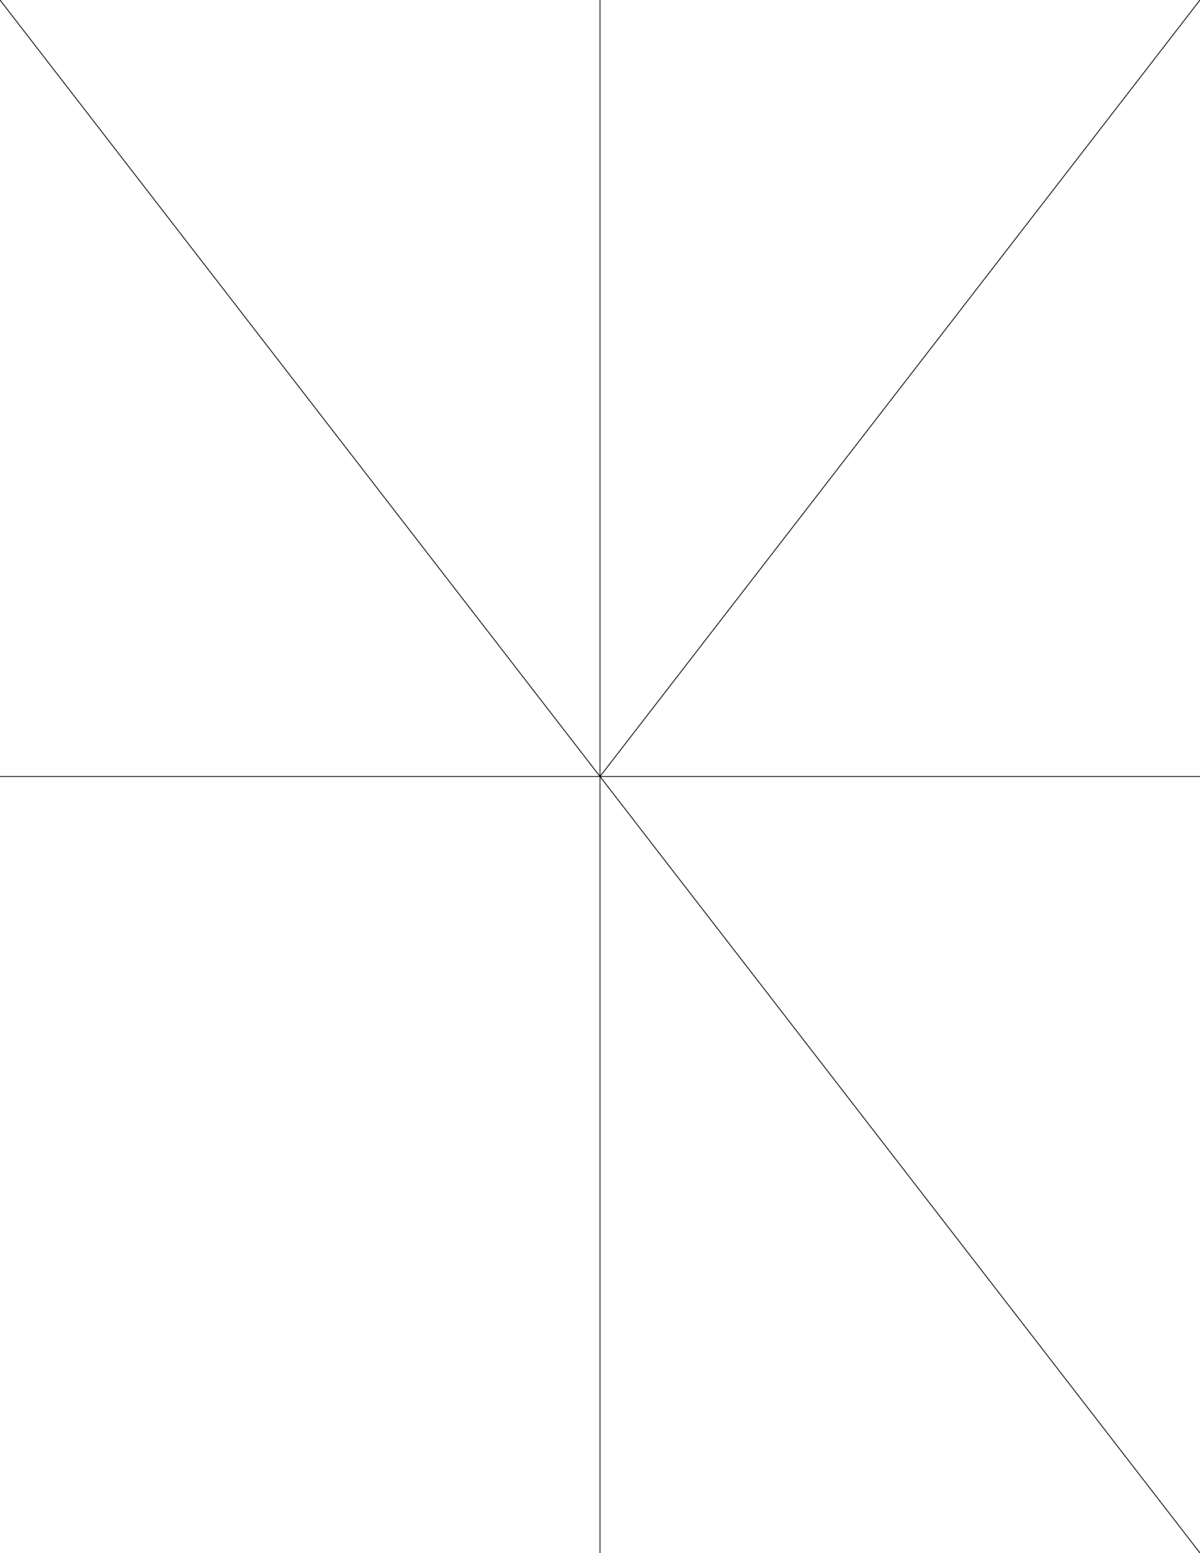
The following code draws straight lines between points with absolute coordinates with respect to the current page:
\documentclass{article}

\usepackage{tikz}

\begin{document}
\pagestyle{empty}

\begin{tikzpicture}[remember picture,overlay]

	\draw (current page.north) -- (current page.south);
	\draw (current page.west) -- (current page.east);
	\draw (current page.center) -- (current page.north east);
	\draw (current page.north west) -- (current page.south east);

\end{tikzpicture}

\end{document}

Drawing lines between page corners
3. Lined Paper Background
A lined paper background can be created by drawing a line from the left to the right. This process has to be repeated from the top to the bottom of the page with a given spacing, for example 1cm. Basically, we need to:
1. Draw a line from the point at coordinate (current page.north west) to the point at coordinate (current page.north east);
2. shift the above line along the y-axis by -1cm;
3. repeat the process x times until we fill the whole page.
Here is what we aim to do:

Lined paper in LaTeX using TikZ
Let's start by highlighting arithmetic in TikZ coordinates!
3.1 Arithmetic in tikz coordinates
To perform arithmetic in TikZ coordinates, we follow the syntax ($(A)+(B)$). This will sum x-coordinates of both points A and B and y-coordinates. To achieve this, we need to load the calc library at the preamble of the LaTeX document.
Here is a relevant example which draws a y-shifted (by -1cm) horizontal line connecting the top left and top right corners of the page:
\draw ($(current page.north west)+(0,-1)$) -- ($(current page.north east)+(0,-1)$);
3.2 TikZ foreach loop and coordinate computation
The above code has to be repeated, around 27 times, to fill the whole page with horizontal lines with 1cm vertical spacing. Fortunately, this can be done using \foreach command. Here is a detailed post about How to use the foreach loop in LaTeX?
Here is a complete a version of the LaTeX code that generates a Lined Paper Background:
\documentclass{article}

\usepackage{tikz}
\usetikzlibrary{calc}

\begin{document}

\pagestyle{empty}

\begin{tikzpicture}[remember picture,overlay]

\foreach \i in {1,2,...,27}{
\draw[lightgray] ($(current page.north west)+(0,-\i)$) -- ($(current page.north east)+(0,-\i)$);
}

\end{tikzpicture}

\end{document}

\end{document}
You can play with options depending on your style. For example, you can change lines color, lines style (e.g. dashed, dotted).
4. Landscape Lined Paper PDF
In this part, we will show how to create a landscape lined paper pdf in LaTeX using TikZ. The basic idea is to use the landscape option with the geometry package and reduce the loop from 27 lines in the portrait case to 21 as follows:
\documentclass{article}

\usepackage{tikz}
\usetikzlibrary{calc}

\usepackage[landscape]{geometry}

\begin{document}

\pagestyle{empty}

\begin{tikzpicture}[remember picture,overlay]

\foreach \i in {1,2,...,21}{
\draw[lightgray] ($(current page.north west)+(0,-\i)$) -- ($(current page.north east)+(0,-\i)$);
}

\end{tikzpicture}

\end{document}

Landscape lined paper
5. Lined Paper College Ruled
At this level, it is easy to create a lined paper college ruled. We will add a thick line with a red color from the point with coordinates at ($(current page.north west)+(4,0)$) to the point with coordinates at ($(current page.south west)+(4,0)$). This line is shifted along the x-axis by 4cm from the left of the page. The latex code is given below:
\documentclass{article}

\usepackage{tikz}
\usetikzlibrary{calc}

\begin{document}

\pagestyle{empty}

\begin{tikzpicture}[remember picture,overlay]

\foreach \i in {1,2,...,27}{
\draw[lightgray] ($(current page.north west)+(0,-\i)$) -- ($(current page.north east)+(0,-\i)$);
}

\draw [thick,red] ($(current page.north west)+(4,0)$) -- ($(current page.south west)+(4,0)$);

\end{tikzpicture}

\end{document}

Lined paper college ruled in LaTeX

